Harrier EV Charger Installation Guide: Step-by-Step Home Setup & Process
Buying a flagship electric SUV like Harrier is just a wholesome experience, but the real ownership of the car begins when you start setting up your charging station right in front of your house. If you are about to take the delivery of your upcoming EV and might be thinking how to install the charger that keeps your EV charged.
Our AllAboutEVs team went through a detailed walkaround of the new Harrier EV charger installation by a user and here is the complete, step-by-step guidelines of installing the 7.2 kW home charger.
AdvertisementUnboxing the Charger: What’s in the Kit?
The installation team (Tata Power or Partner agency) brings a hardware with them as the Harrier EV comes with an option of two types of charging solutions:
.webp)
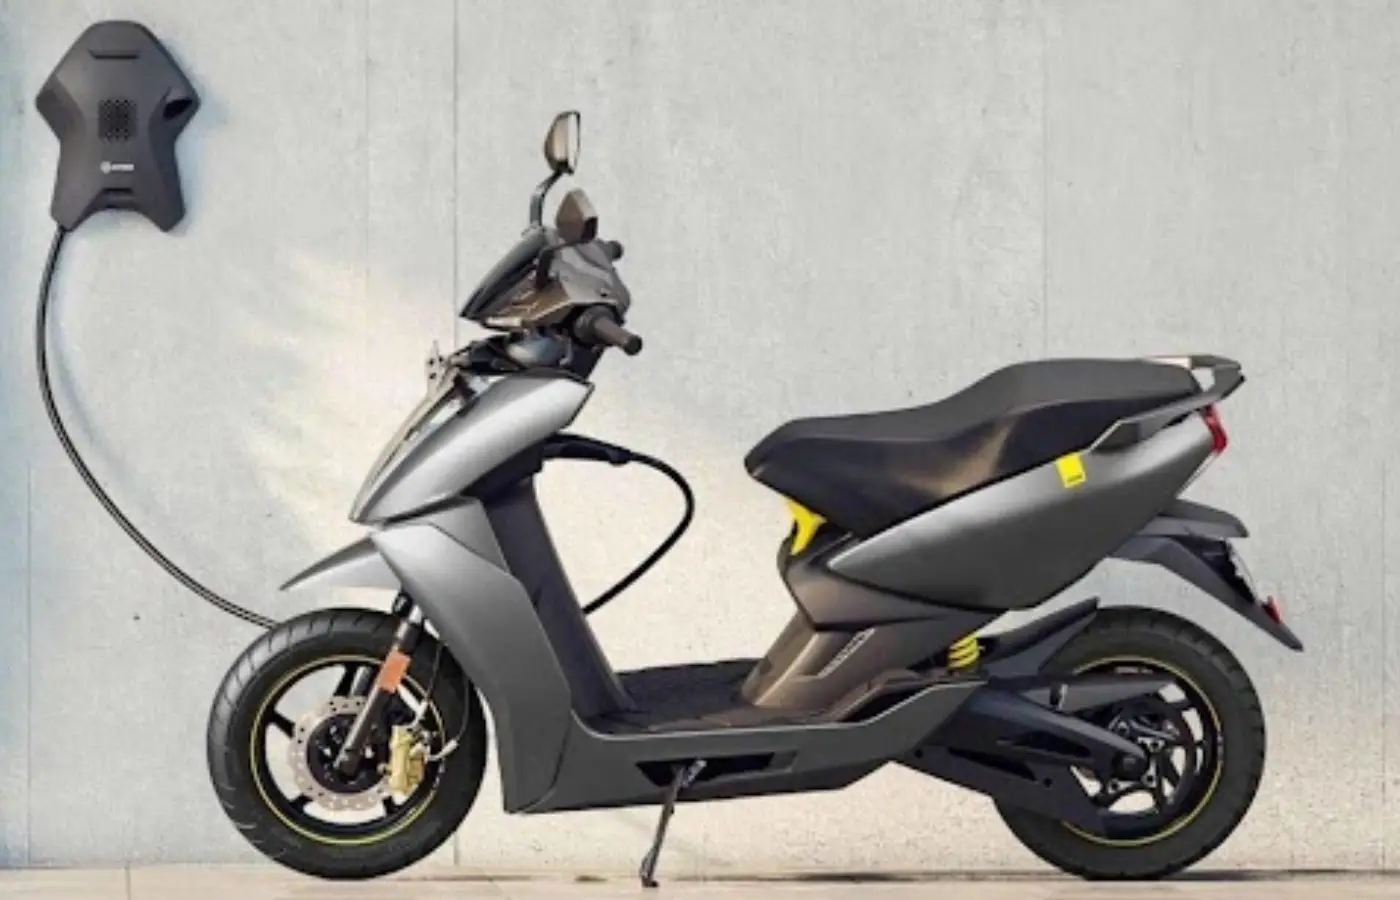
- Portable Charger: A smaller unit which can be stored in the boot for emergency use via the standard 15A sockets.
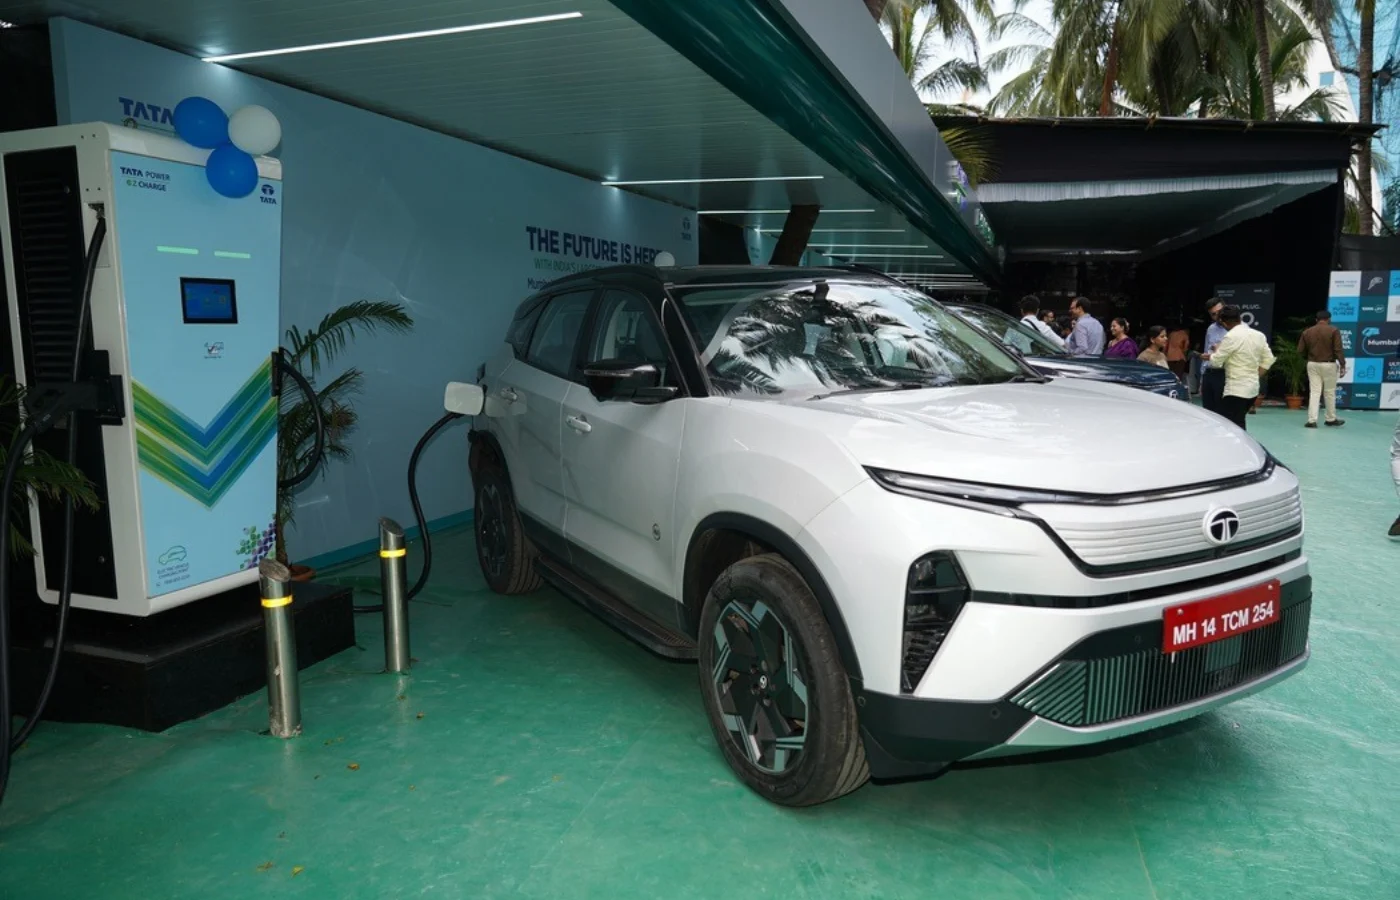
- The 7.2 KW Fast Charger: A wall-mounted, non-movable charger which serves as a daily charging source and requires professional installation.
The Foundation: Why Earthing is Important?
Before the installation team starts drilling the walls, there is one important check: Earthing, as the installation team told the user that standard household earthing is not sufficient for a heavy-load EV charger.
-
The Process: The technicians may need to find a dedicated ground earthing point. During the process, the installation team dug a small pit in the nearby garden of the user and inserted a metal rod, connected via a 1 sq mm copper wire.

-
Why it's crucial: Without proper grounding, the charger won’t start as it is a safety precaution in order to prevent electrical issues and ensure that the vehicle is connected to the charger and accepts the power sent from the charger.
The Setup: Mounting & Wiring
Once the earthing is done, the physical installation begins.
- Cabling: A heavy-duty, 10mm 3-core cable (shielded/armoured) is used to connect the main power source to the charger in order to ensure effective distribution of power. This cable connects with three lines: Red (Phase), Blue (Neutral), and Yellow (Earth).
- Protection: A 32-amp Double Pole MCB (Miniature Circuit Breaker) box is installed between the main line and the charger. This protects your expensive charger and your car by acting as a fuse to cut down power during overloads.
.webp)
- Mounting: The backplate of the charger is drilled and screwed into the wall at an optimum height to ensure that the 3-meter charging gun can easily reach the car’s charging port.
The RFID Authentication
This is not just a normal charger like “plug and play”, it smartly turns on.
- Switch On: When you turn on the MCB, the charger comes with a white light, which turns to blue, ensuring that it is ready to power up.
- Plug In: Place the charging gun into the Harrier EV.
- Authenticate: The user is provided with an RFID key card. All you have to do is tap this card on the charger’s RFID sensor.
.webp)
- Start: Once the charger verifies the key, it produces a “beep” sound and the light on the charger turns green. This confirms that the authentication is successful and power is being used to charge the car.
Charging Time & Peace of Mind
With the accurate installation of a 7.2 kW charger, you can expect a full charging time of approximately 8 to 10 hours (Roughly overnight), thus bringing a peace of mind to EV users who want to have city commutes the next day.
So no more range anxiety or looking for public chargers as you can simply plug your car and wake up at a full tank, ready for 300-400 km of driving in city and highways.