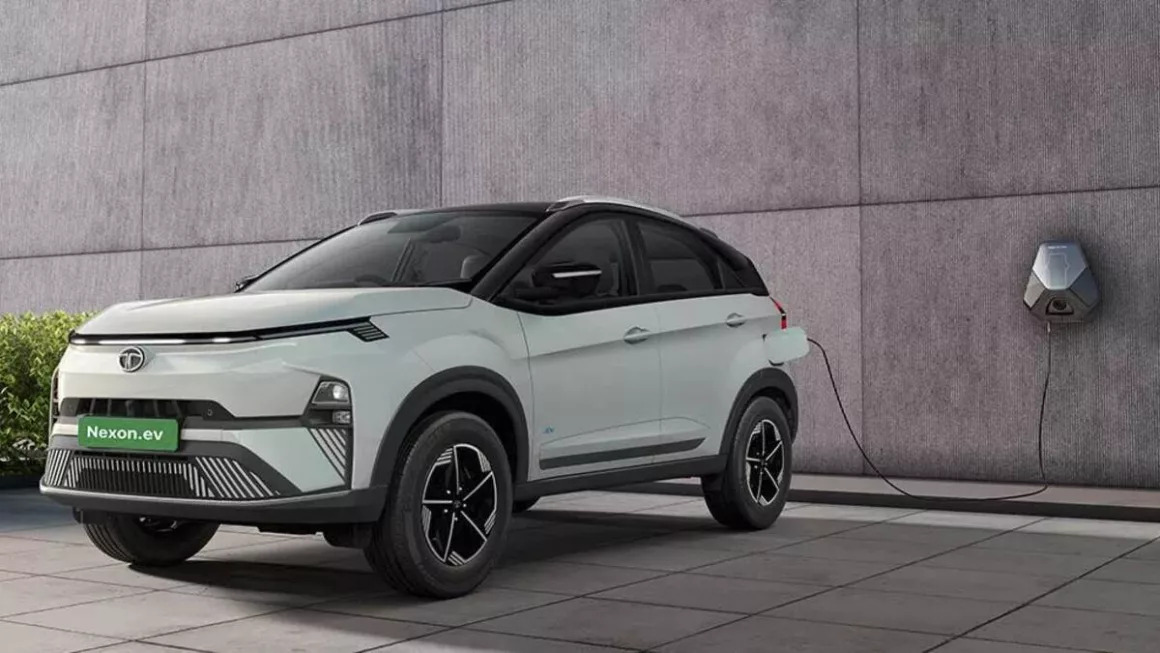
How to Effectively Charge your Nexon EV at Home? Correct Charging Procedure
Whenever an EV enthusiast makes a decision of buying an EV, he considers various factors while taking a decision such as battery size, potential range on a full charge, power and different technical specifications.
But ever wondered about the charging process? The charging process is a very important part of battery management as your battery health is determined on how effectively you charge your EV. Today we will be guiding you with the correct charging procedure of Nexon EV.
AdvertisementBut before that let’s understand the various details of the different types of charging mechanisms with the help of a table and its power figures.
Nexon EV Charging Mechanisms
| Types of Charging | Charging Component Specification |
| Normal / AC Charging |
|
| AC Charging (WMU) |
|
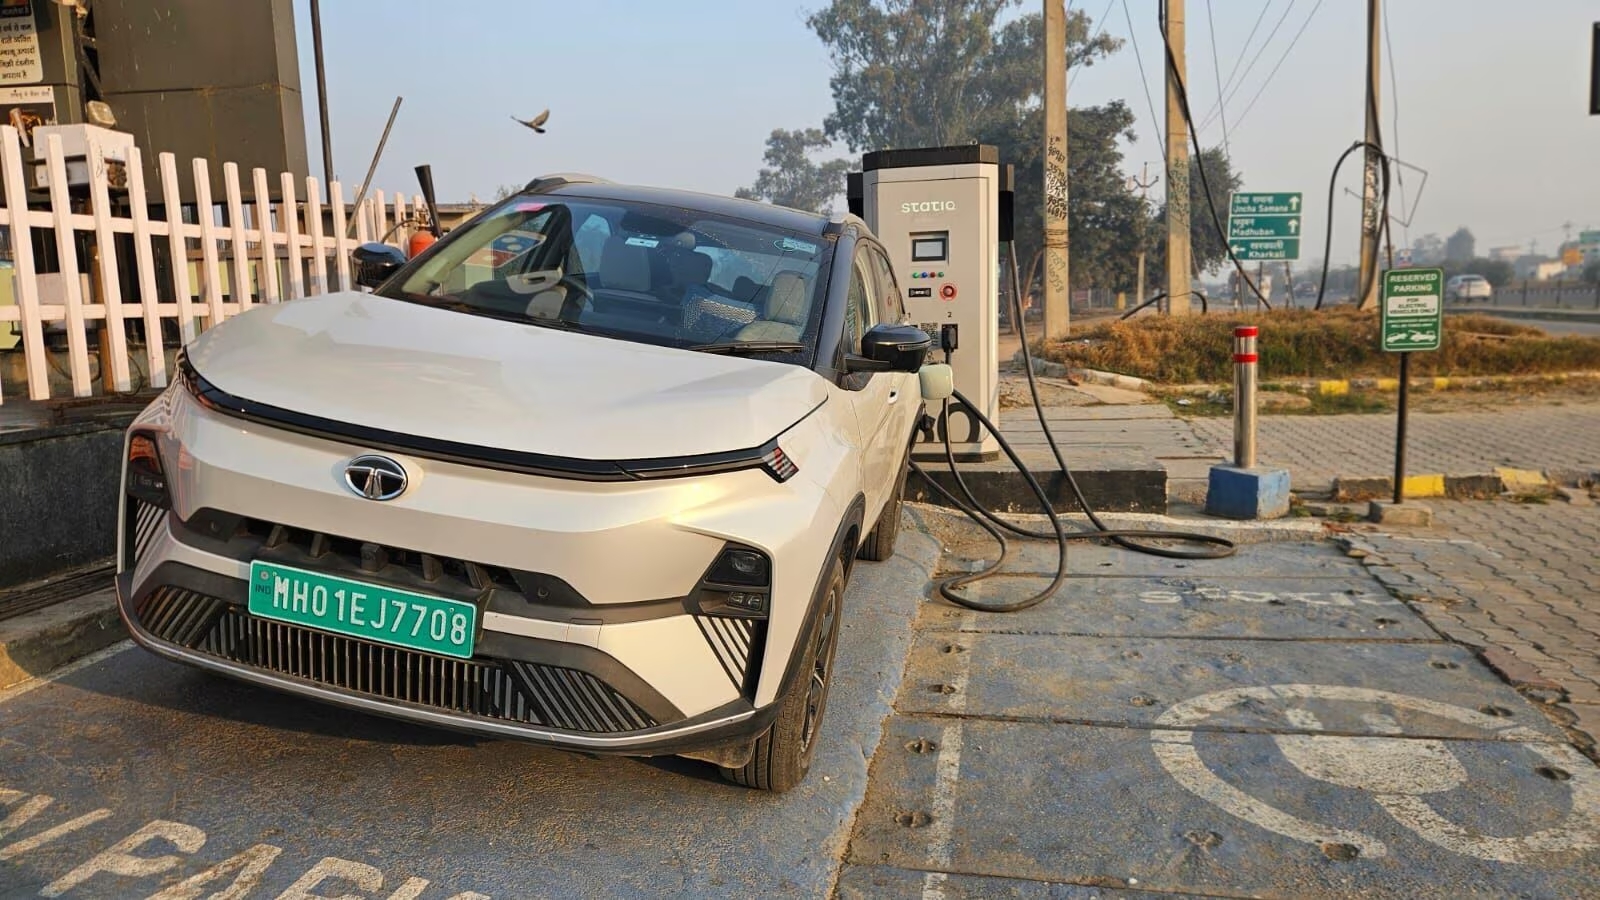
| Fast/ DC Charging | The Voltage capability of the particular charging station should be at least equal or higher than the voltage battery pack. |
Nexon EV – Normal Charging Procedure (AC Charger)
Step 1: Park the vehicle and engage the parking brake
Ensure your Nexon EV is in "Park" mode and the automatic parking brake is engaged. Charging will not begin unless the brake is active.
Step 2: Plug the portable charger into a grounded AC wall socket
Use a dedicated, properly earthed AC power outlet. Do not connect to high-load or industrial sockets not meant for EV charging.
Step 3: Open the charging port flap
Locate the charging flap lever below the driver-side dashboard. Pull it to open the charging port.
Step 4: Remove the protective covers
- Take off the cap from the charging inlet on the car.
- Also remove the cap from the charging gun (connector).
Step 5: Ensure the charging gun lock is unlocked
Before inserting, check that the gun lock is in the ‘unlocked’ position.
Never force the connector into the socket — this can damage the inlet.
Step 6: Check for dust or debris
Make sure both the charging gun and the charging port are clean and dry to ensure proper connection.

Step 7: Connect the charging gun to the car
Insert the charging gun firmly into the car’s inlet until you hear a ‘click’ sound, indicating it’s locked in place.
Step 8: Switch on the power supply
Turn on the AC socket switch. The charger will initiate, and the car will begin charging automatically.
Step 9: Verify charging status on instrument cluster
Check the instrument cluster or infotainment screen to view.
- Current battery percentage
- Charging status
- Estimated time to full charge
- Charging gun connection status
Step 10: If charging doesn't start, refer to the Troubleshooting Guide
Follow the manufacturer’s troubleshooting steps or consult service support if the car doesn’t begin charging.
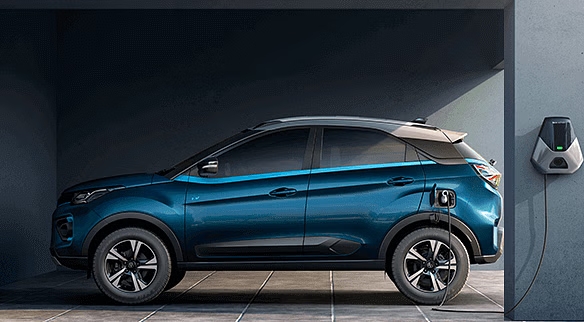
Nexon EV AC Charging Procedure via 7.2 kW AC Charger (Wall Mount Unit)
This type of charging from a 7.2kW AC charger is considerably faster and more efficient than normal charging as it takes approximately 6.5 hours to fully charge the Nexon EV.
The charging procedure from STEP 1 to STEP 3 is exactly the same as normal charging. After implementing STEP 1 to STEP 3, follow the exact process as described below.
STEP 4: Remove the Charging Gun from the Wall Mount Unit (WMU), as it will be installed separately at the customer’s house.
STEP 5: Open the protective cap located on the WMU Charging Gun.
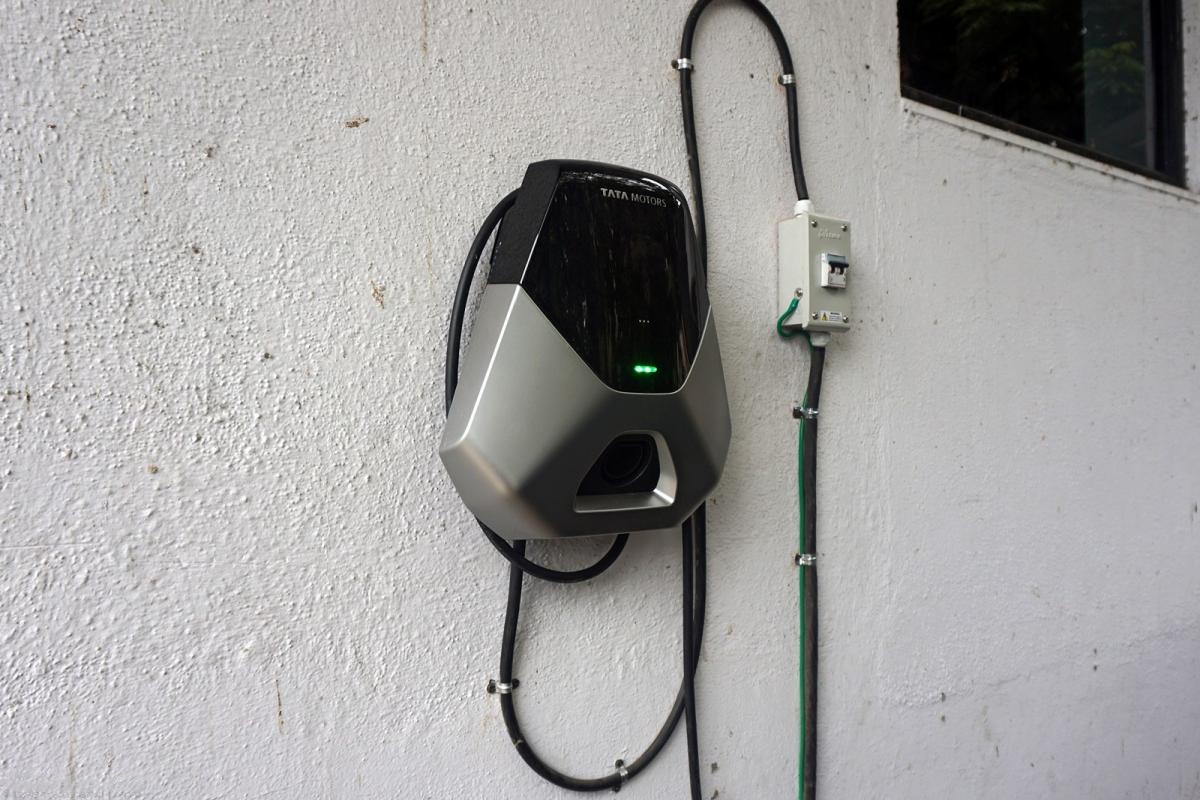
STEP 6: Make sure the Gun Lock is released before connecting the WMU charging gun to vehicle charging socket. CAUTION: If the actuator is in operation and the gun does not connect properly, quickly get in touch with the Tata Motors EV service center.
STEP 7: Scan the RFID provided on your WMU to start the charging process.
STEP 8: Charging Gun will be locked automatically and you will hear a ‘Click’ sound. This signifies that the Gun has been connected successfully.
STEP 9: After connecting the charging gun, the car will automatically start charging. To know about the ongoing charging process, Open the door and instrument cluster for State of Charge, Estimated time remaining to fully charge the car and Gun connection status.
STEP 10: If you want to stop the ongoing charging process in the middle, scan the RFID on the WMU.
STEP 11: The charging gun will be unlocked, after pressing the fascia, switch on the ignition and pull out the Gun.
STEP 12: Put on the protective caps on the Charging Gun and Vehicle Inlet. Store the Charging Gun properly and make sure to shut the charging inlet flap tightly.
Thus by following these exact steps in a proper order according to your charging mechanisms, your nexon ev will be charged effectively and will ensure efficiency and reliability of your car’s battery promising a longer battery life and smoother performance.